Mad Hatter Tea Party: Mini Top Hats
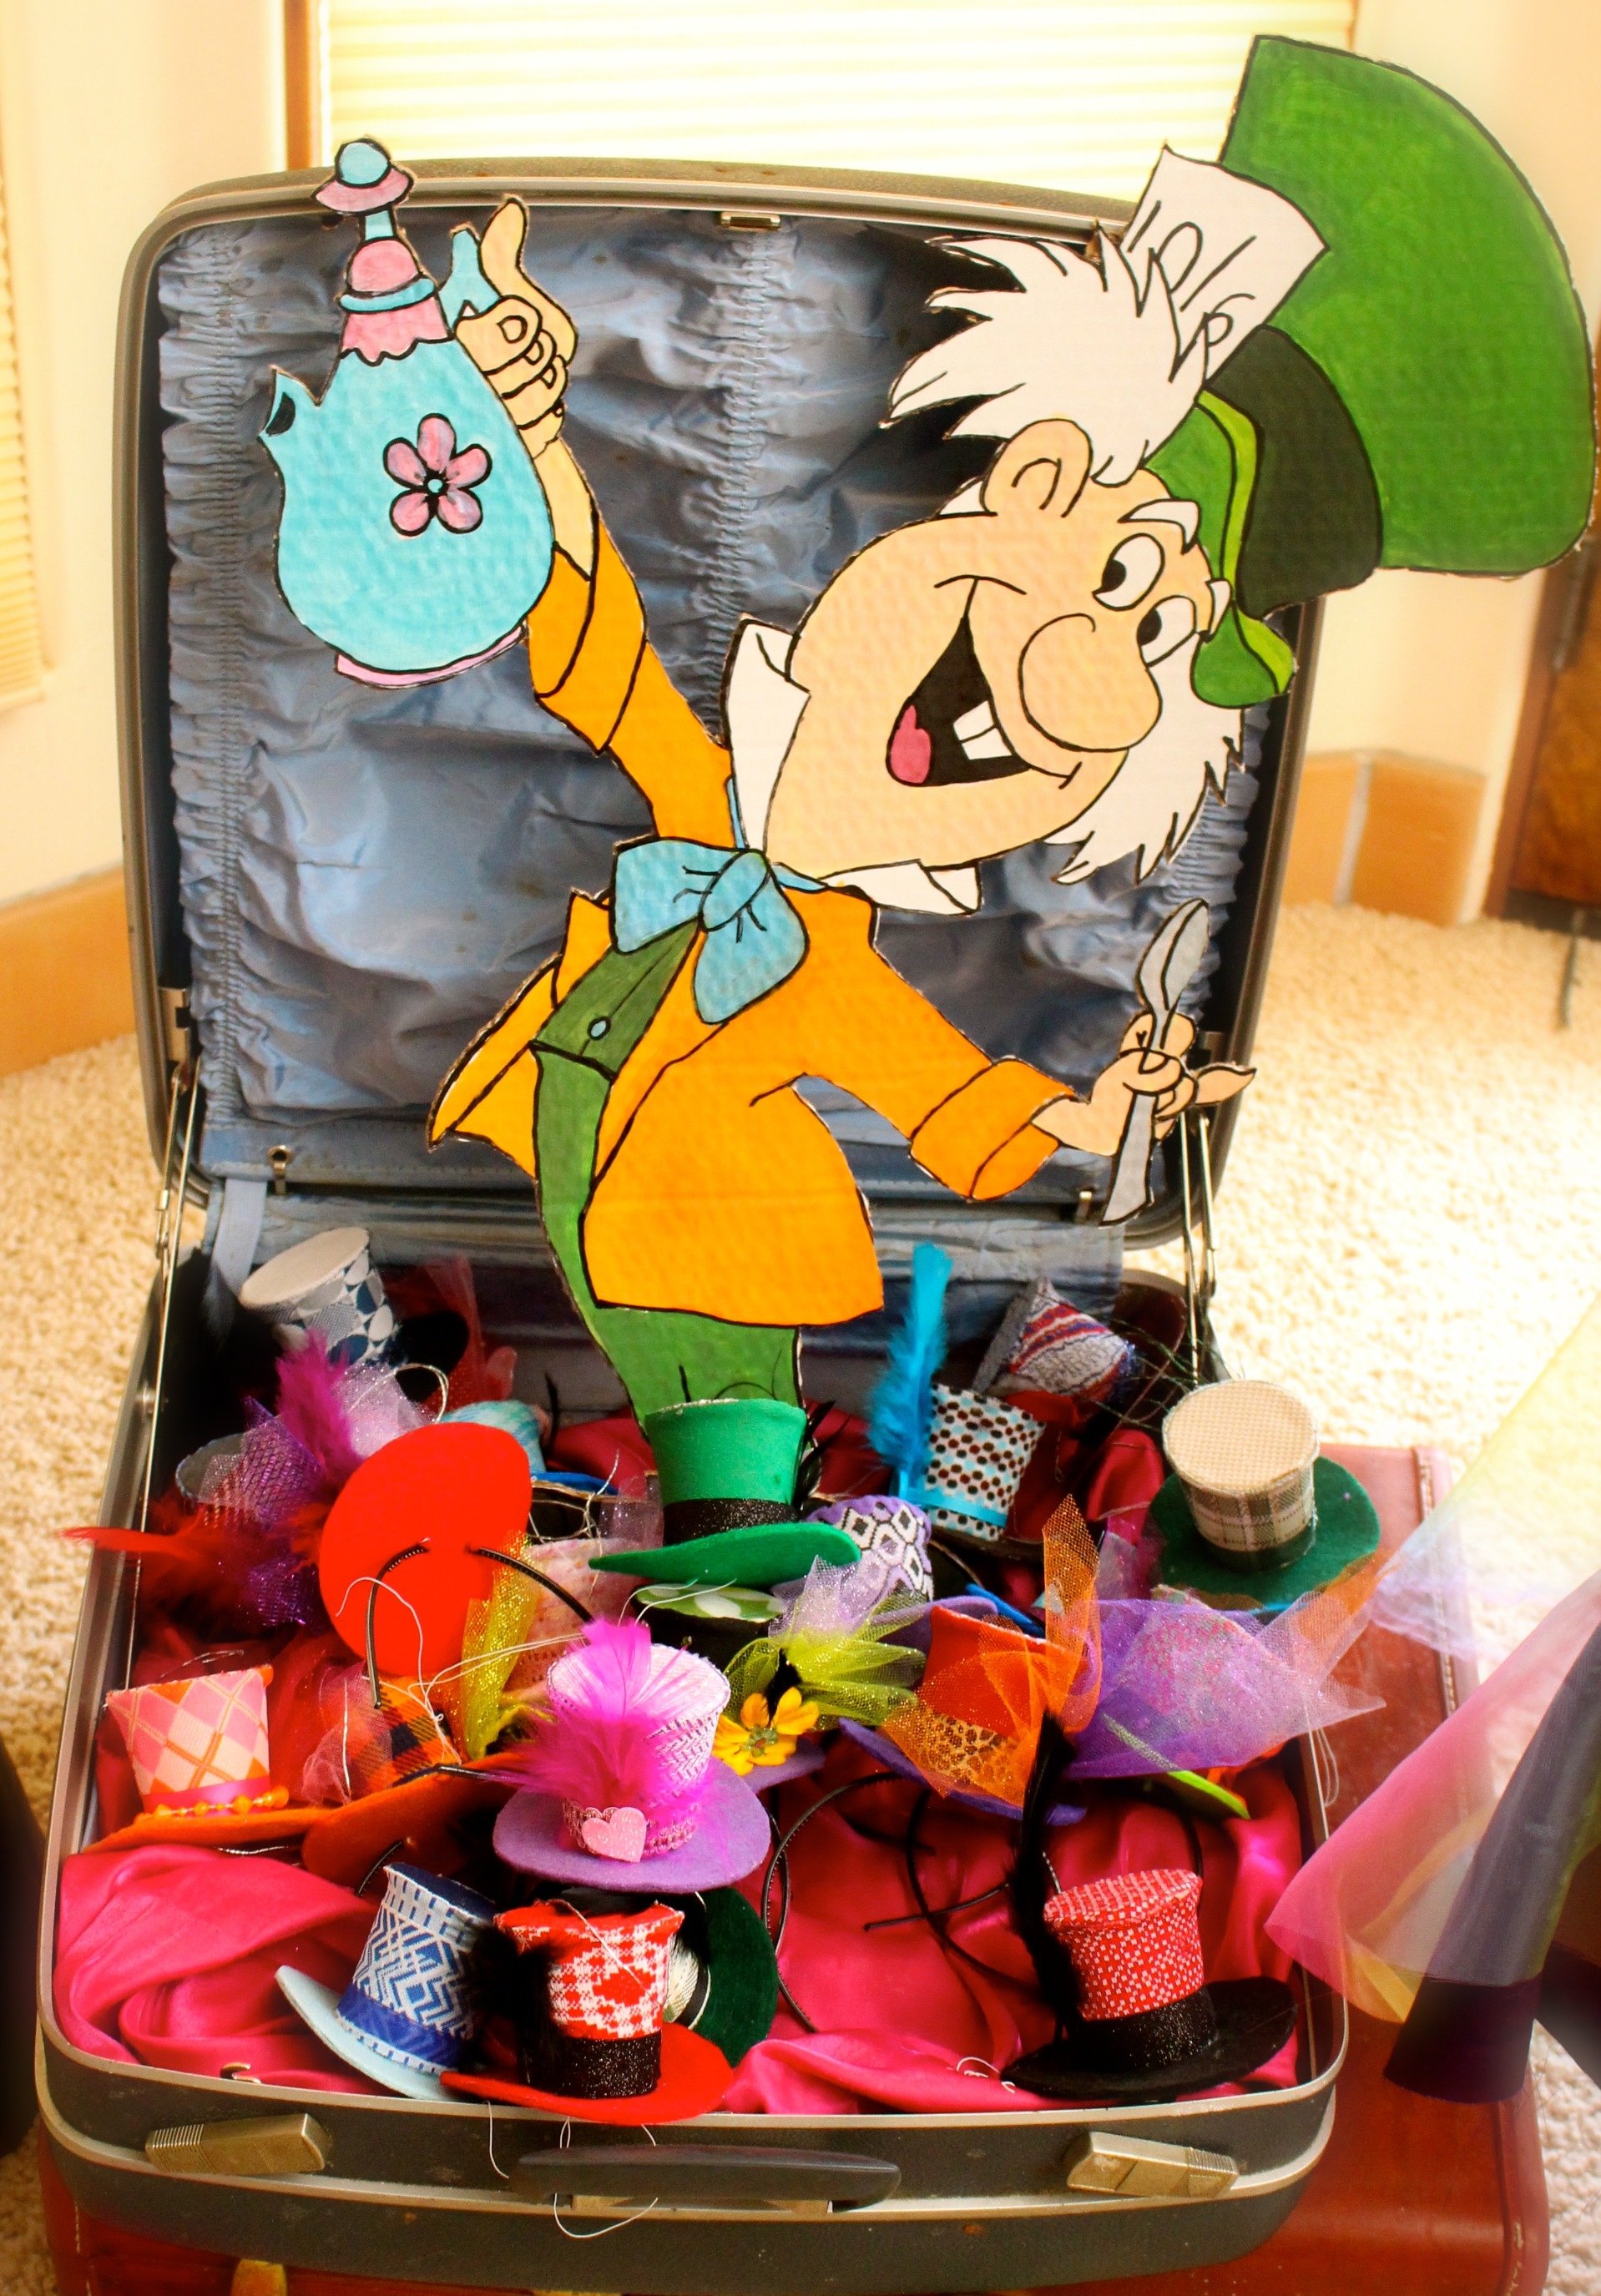
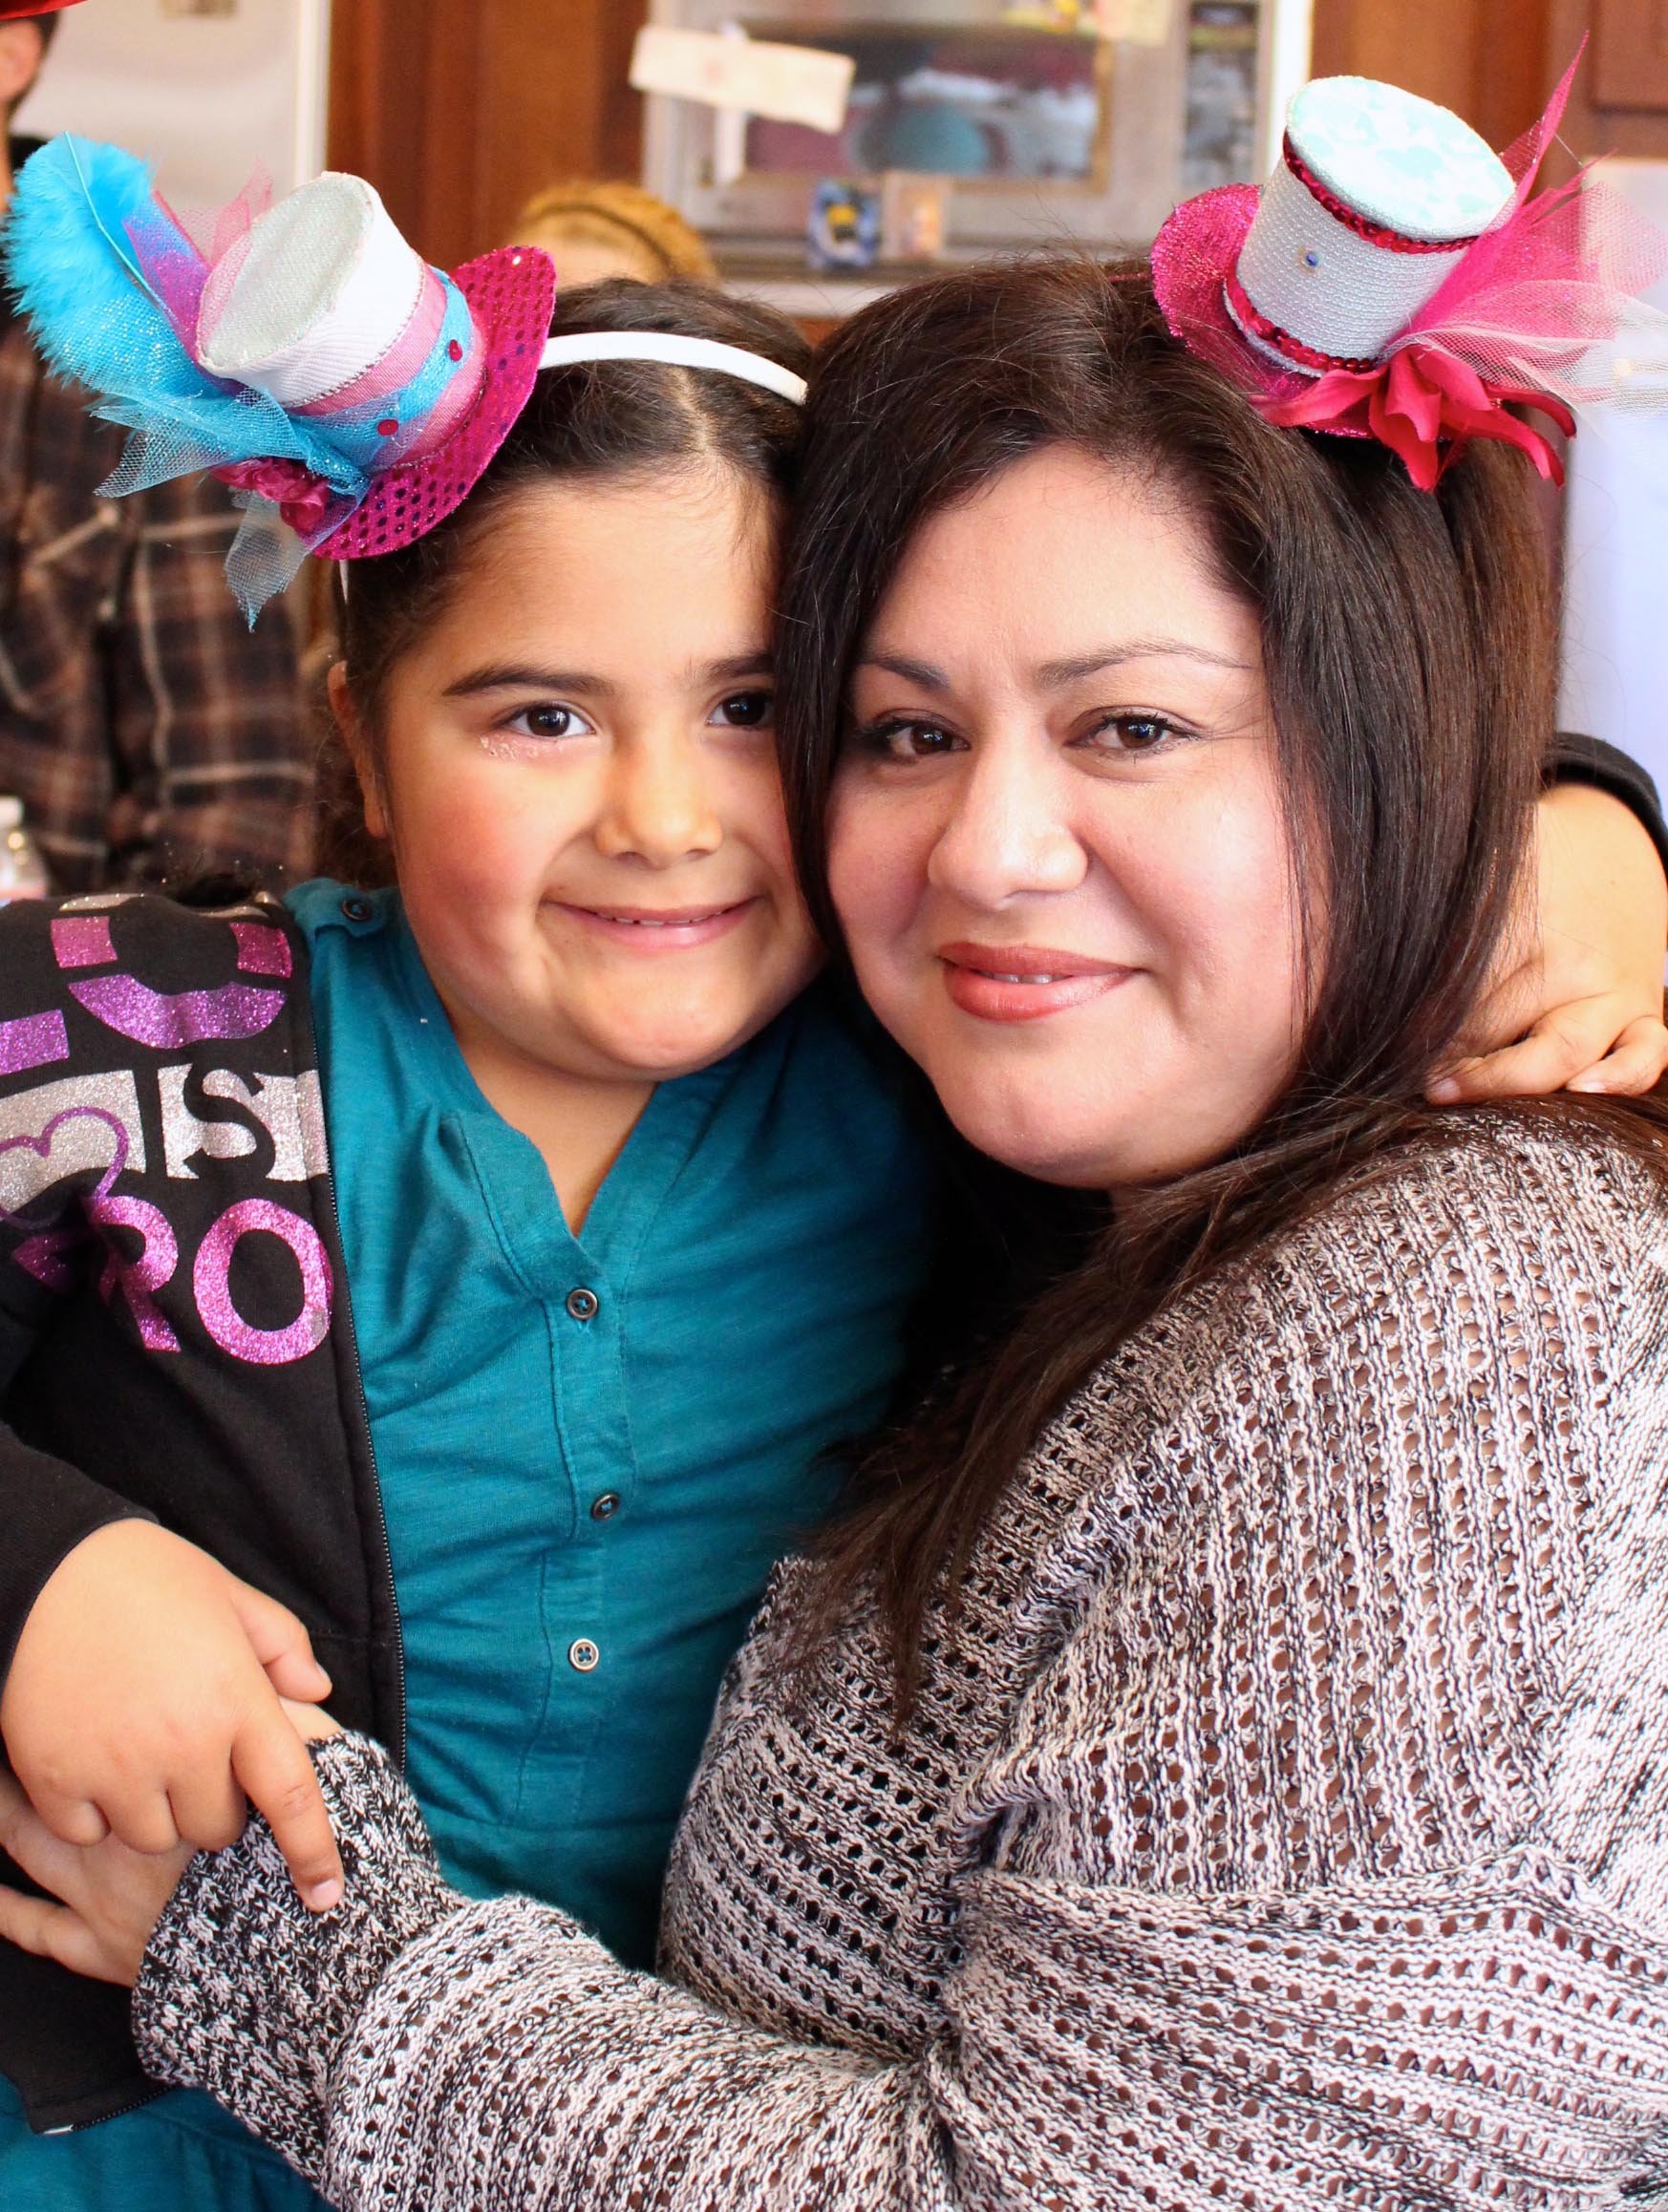
The Mad Hatter Mini Top Hats were a hit at this shindig! My little monsters are still wearing them around the house two months later, and the middle child has worn hers to school a few times (my kids are pretty eccentric).
 For this party, I made about 50 hats. I had helpers for this (thank goodness). I didn't have to buy any supplies because I swear the universe conspires to enable my creative crazy!
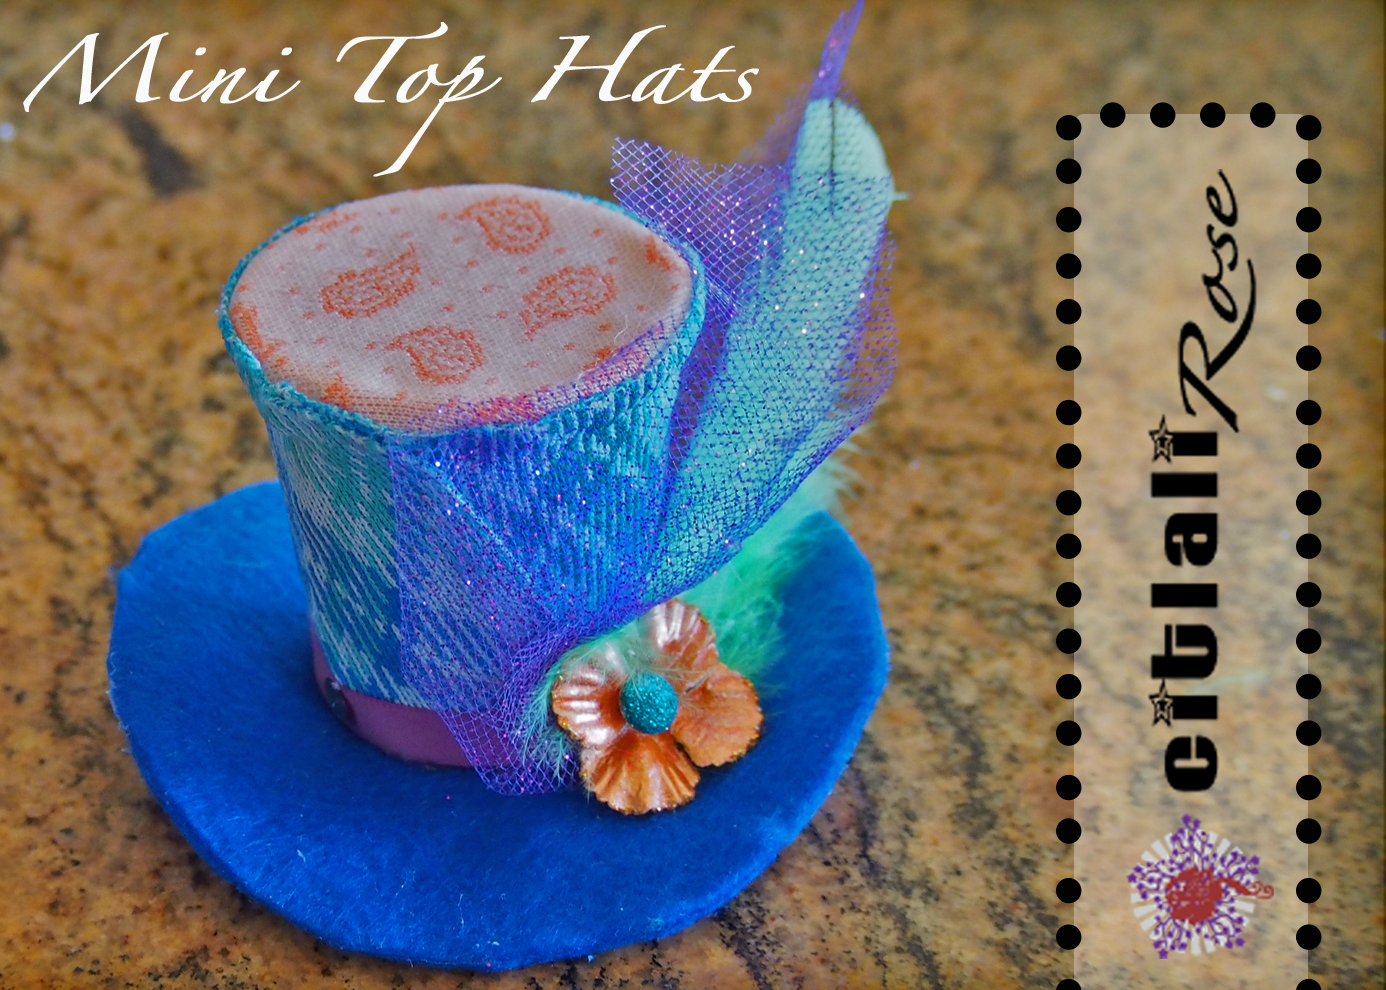 I used poster board and felt for the brim and little paper cups for the hat. I used a slightly sturdier type of poster board to help the brim keep its shape. You'll notice it is silver on one side and white on the other. The color doesn't matter as they eventually get covered with felt.Scissors, a glue gun, a whole bunch of glue sticks, a circle cutter, and a hole puncher are also very handy for this project. I used a Crop-A-Dile in lieu of a hole puncher because it can punch smaller holes than a standard hole puncher, but it's not necessary. You can also just poke holes with a sharp pen. I had some vintage polyester fabrics that happened to fall into my lap as a gift from the Crafting Gods (no blasphemy intended - it's just a part of my dweeb-ness. Go with it.). As proof of this claim, I'll have you know they were also pre-cut into the strips you see pictured here. Lastly, ribbon, feathers, tulle, sequins, little gemstones, and miniature flowers are great for decorating the hats to give them a nice finished look.
 First, we cut a 4 1/2 inch circle out of poster board (if you can get a sturdier board than the standard poster boards, the brim will hold a curved shape). Then, we cut 2 felt circles that were just slightly larger than the poster board circle. Glue the felt pieces onto the poster board circles, like a sandwich with felt pieces on either side. It also helps if you go around and seal the edges for a cleaner look. I just used a glue gun and pressed the edges with my fingers. You can also get fancy and use other types of fabrics to cover the felt brim.Here is an example of a hat I did with sequence fabric on the brim. I skipped the felt to give it a thinner look. It's best to use fabrics that don't fray. I also tried a fancy satin brocade fabric, and I had to use fabric glue to seal the edges.
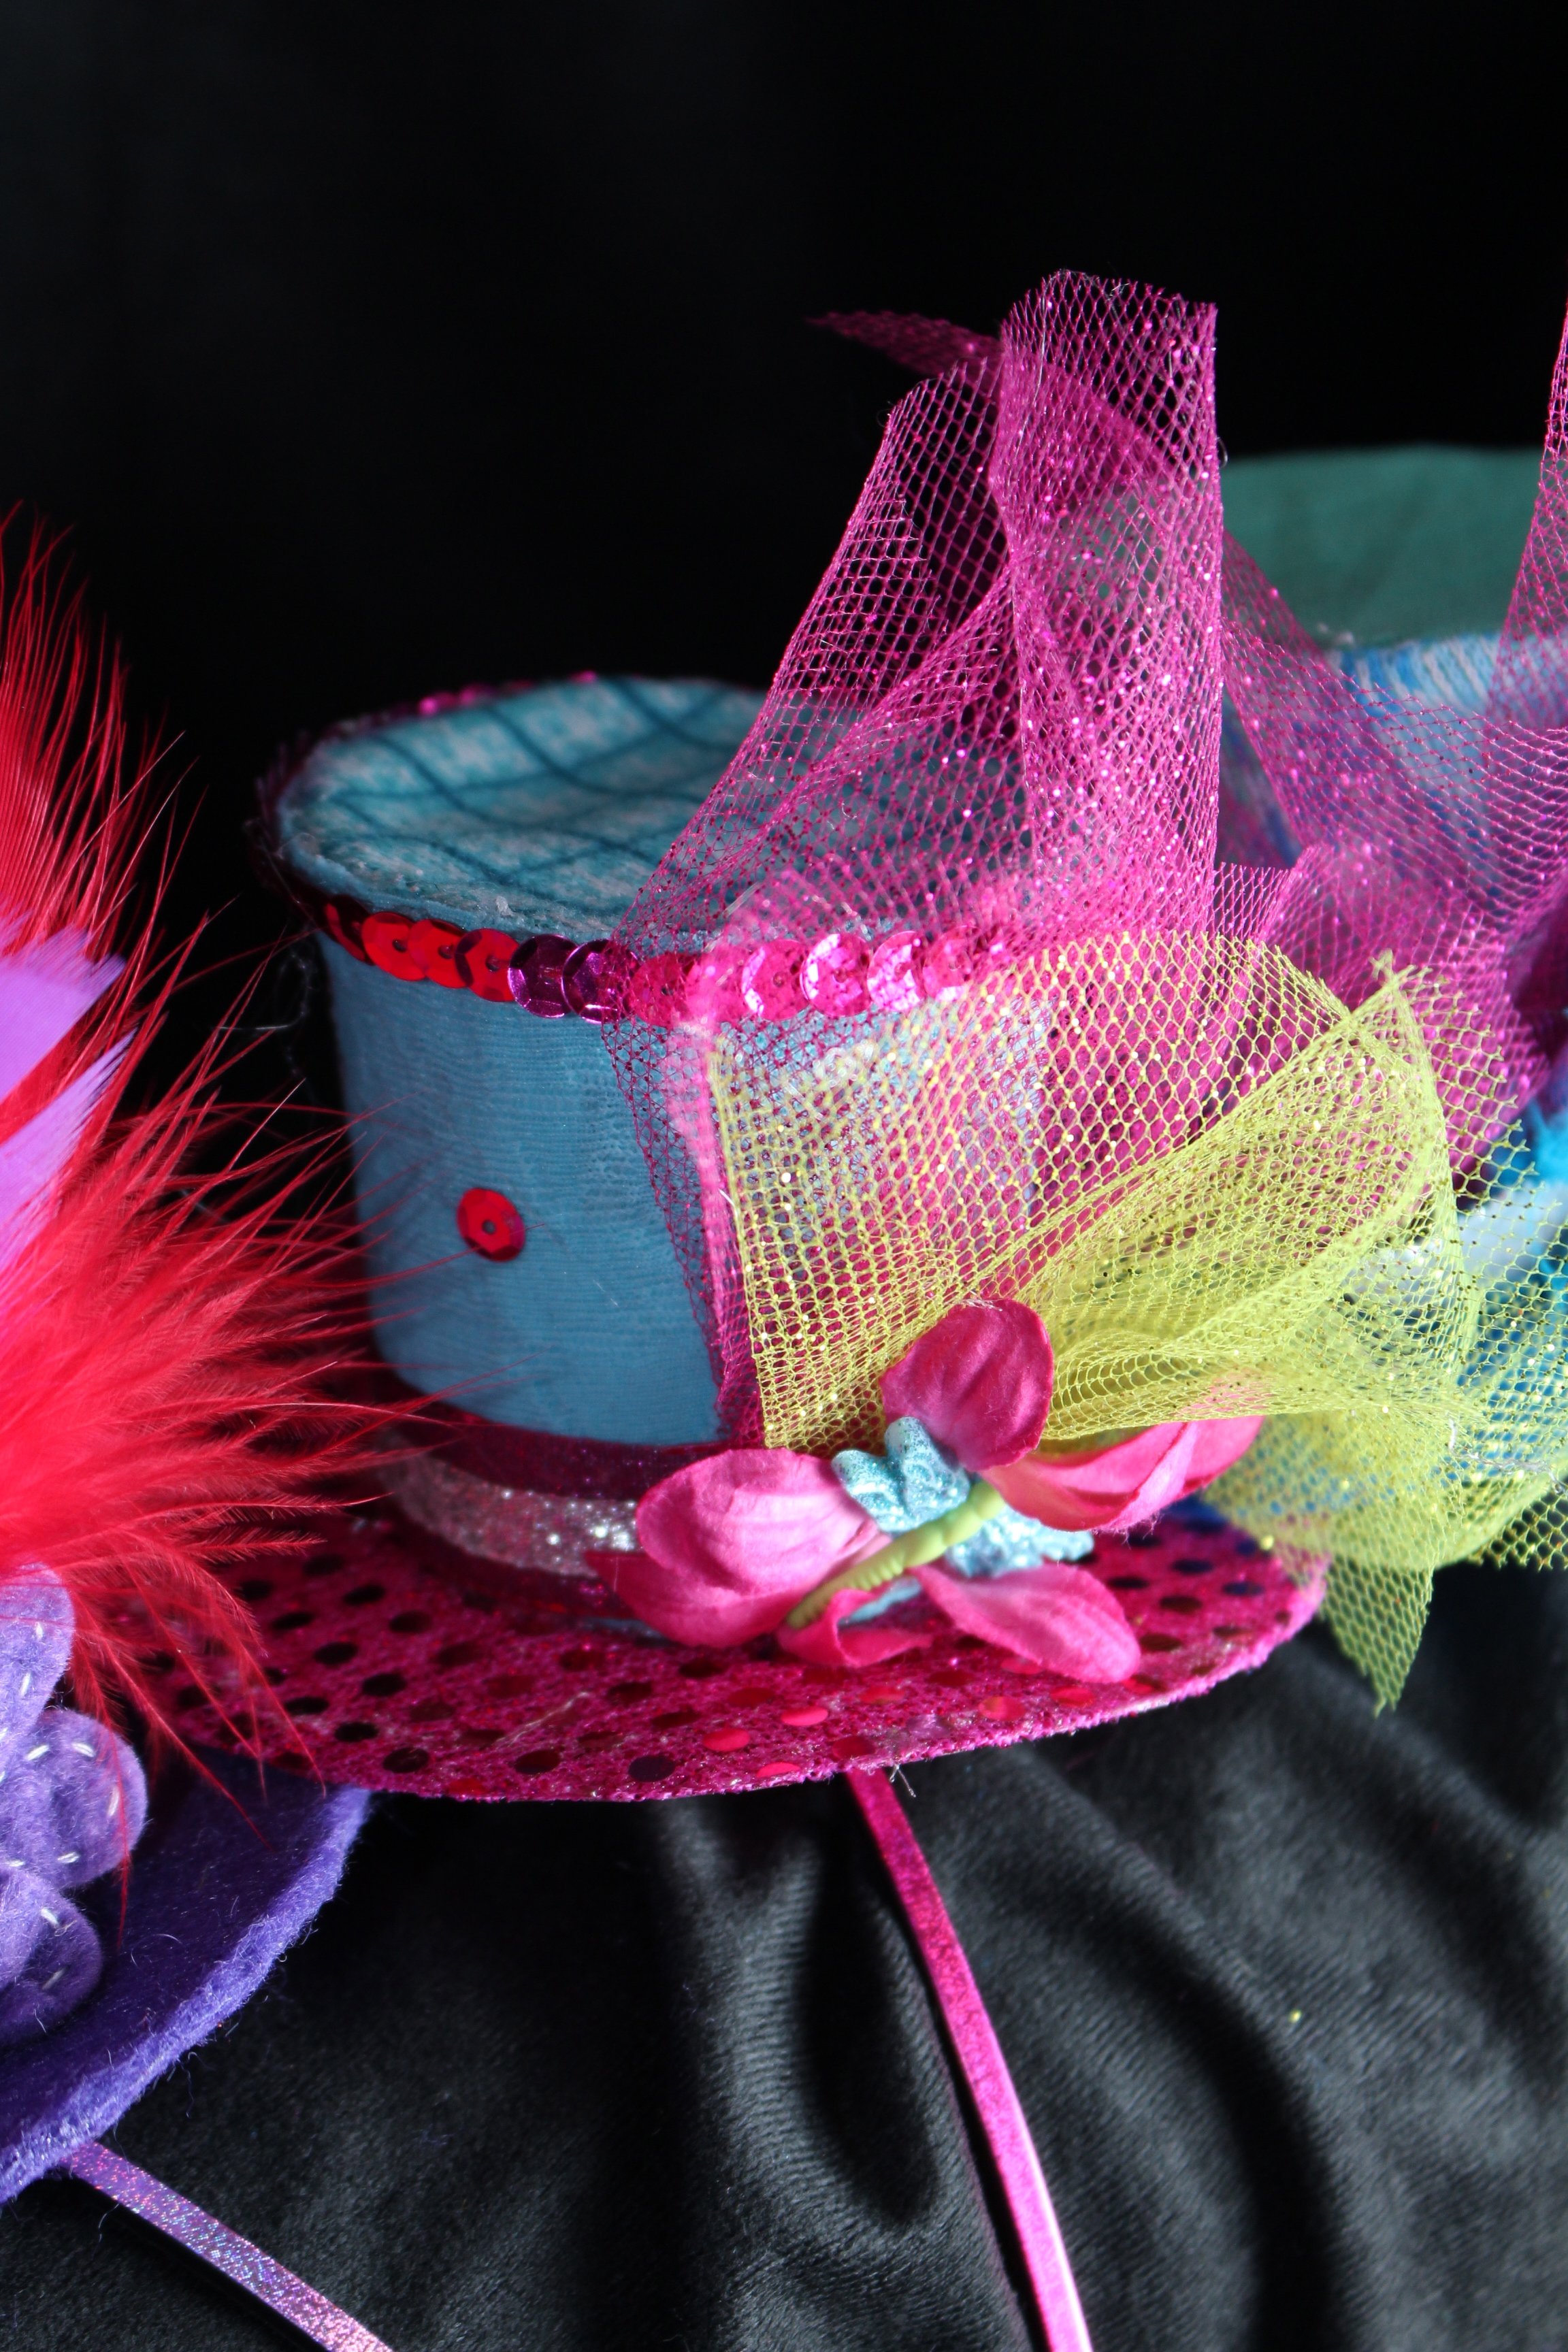 The next step is to glue a piece of 3x3 inch fabric to seal the open side of the cup. After doing that, we trimmed the fabric into a circle, leaving just enough of the fabric to wrap over the edges of the cup. Then, we wrapped and glued the fabric strips around the cups, using the top edge as a guide for the edge of the fabric. The strips measured about 7 x 2 1/2 inches. We tucked in the raw edges into the bottom of the cup.Before attaching the brim to the rest of the hat, I punched 2 holes into the middle of the brim (leaving about a 1 inch gap in between the holes). At that point, you can slip a headband through or a piece of elastic to make the hat wearable. Then, I glued the brim to the top hat with a glue gun. Held the brim slightly bent like a taco to give it a more rounded look. I jazzed it up with the ribbon and anything sparkly and funky I had on hand. Voila!
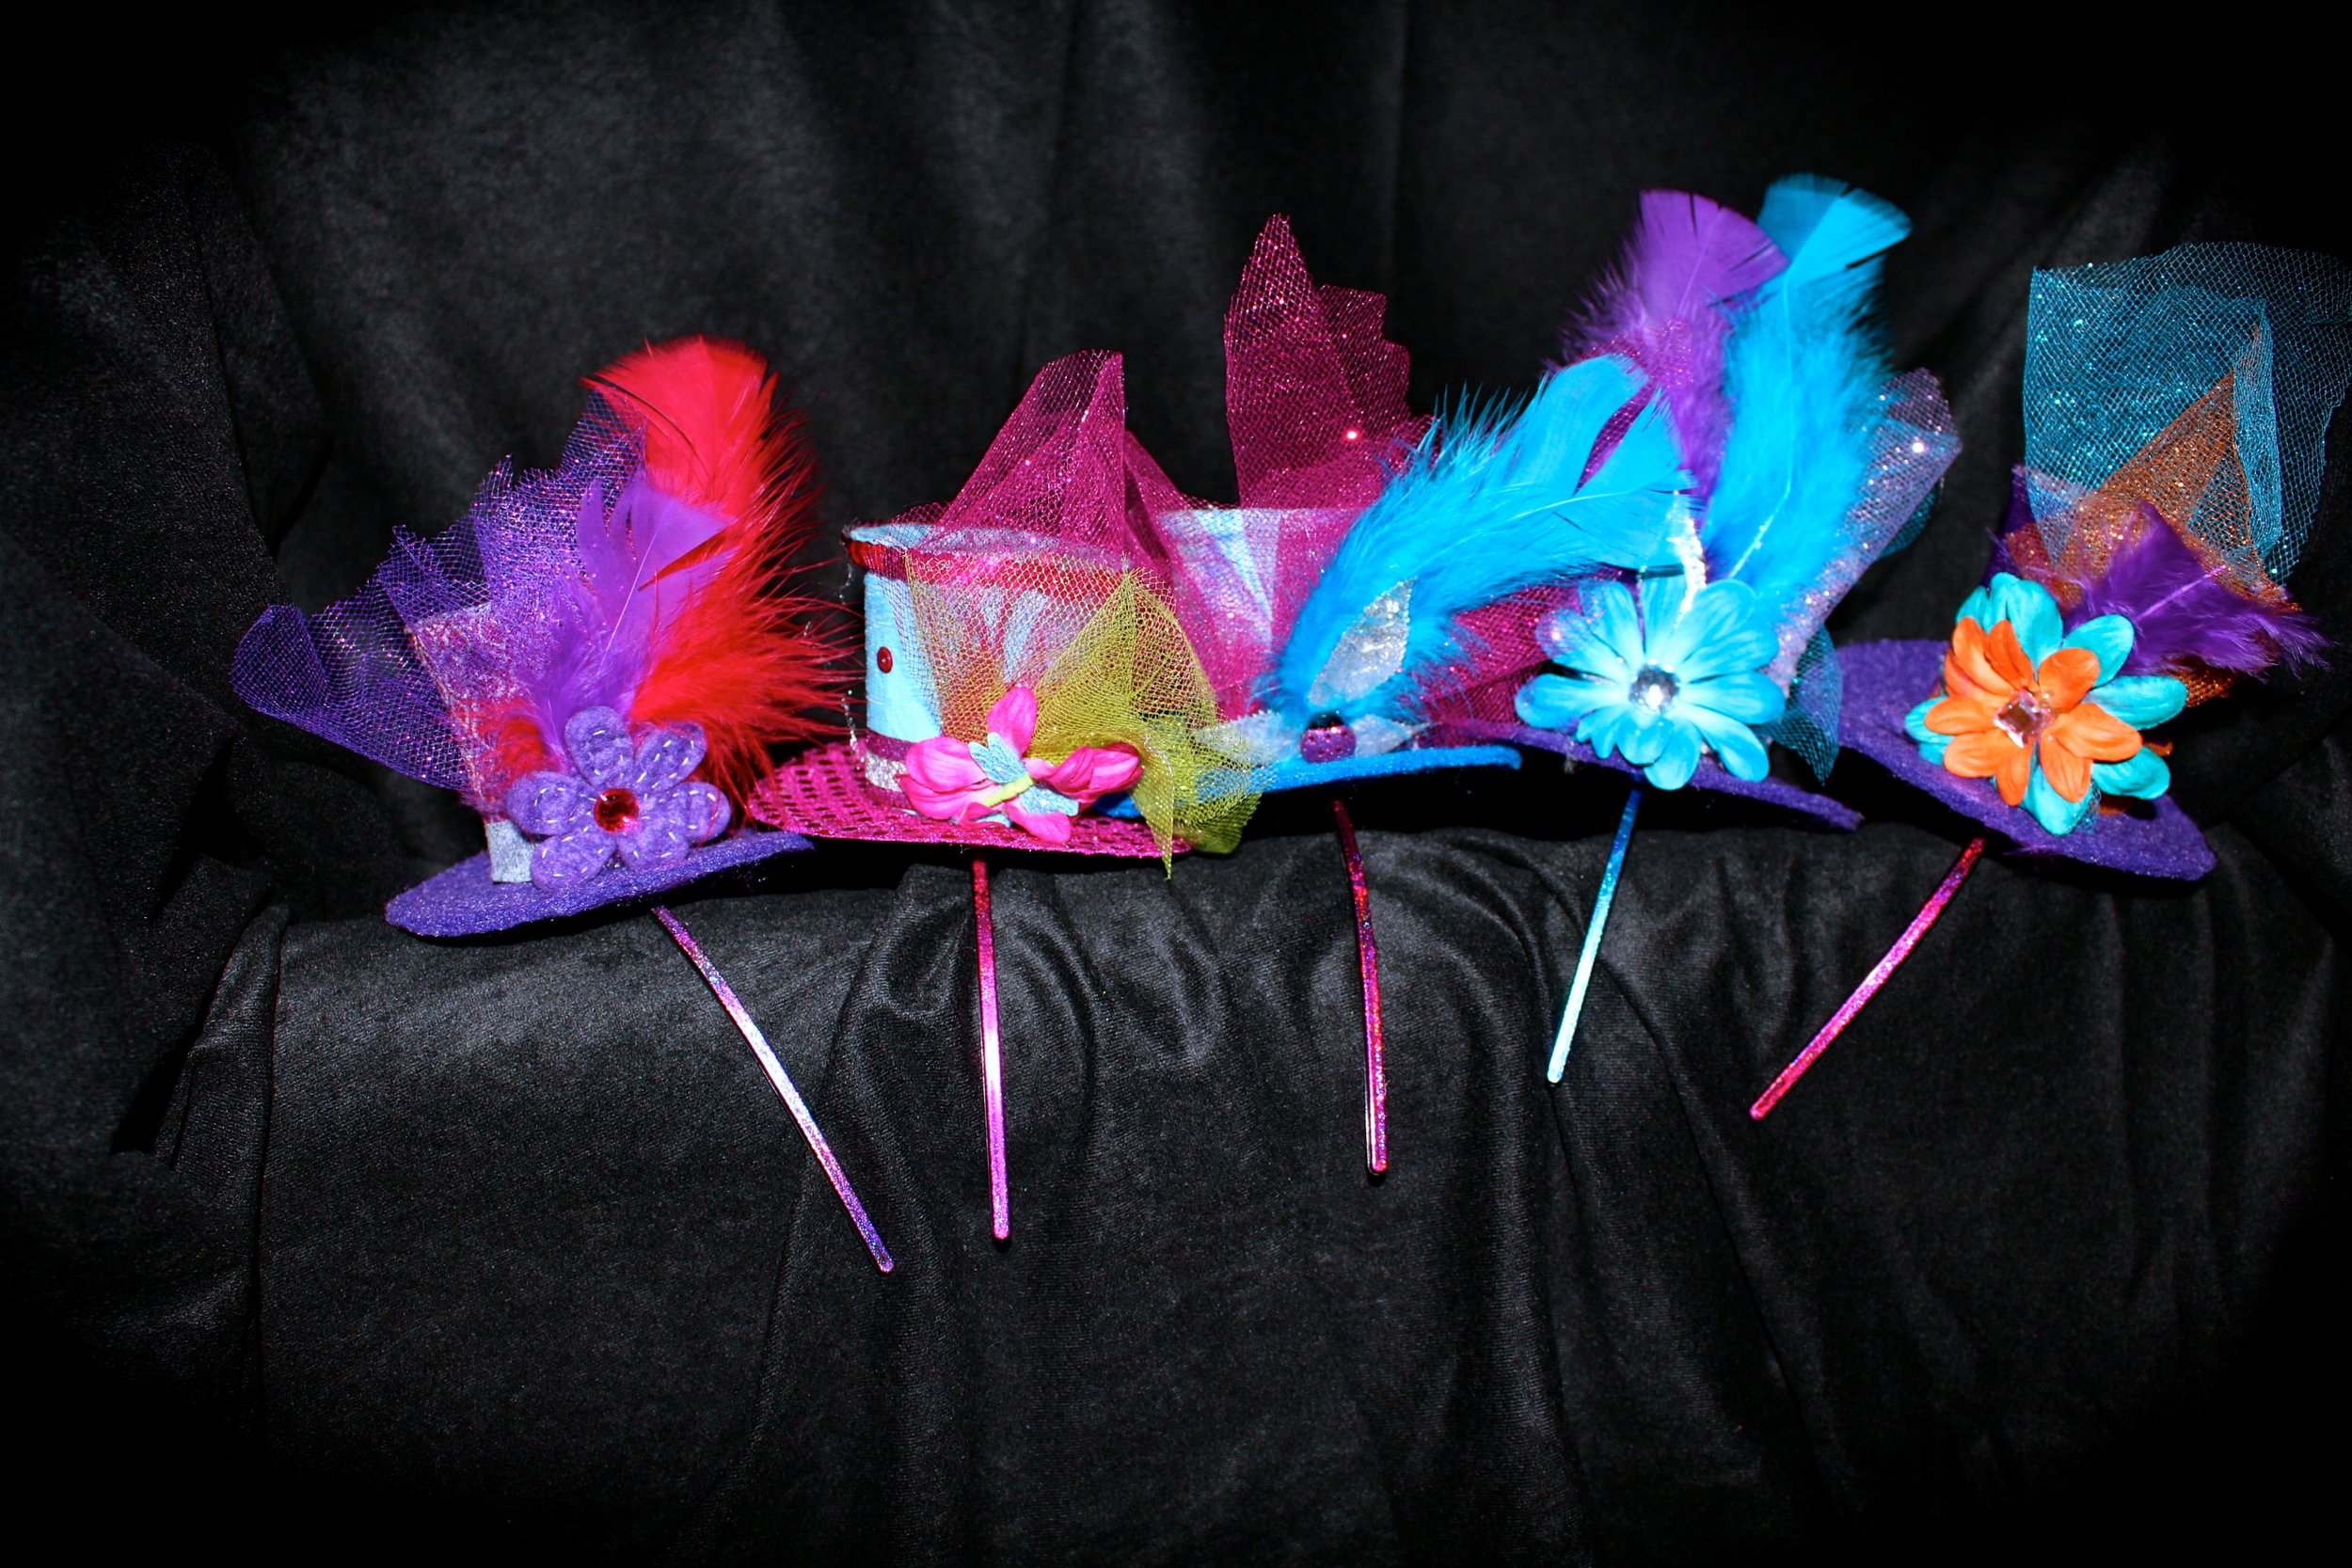 Fun miniature top hats that kids and adults of all ages will love.
 Or can't object to wearing! The elastic totally helped keep this one on.
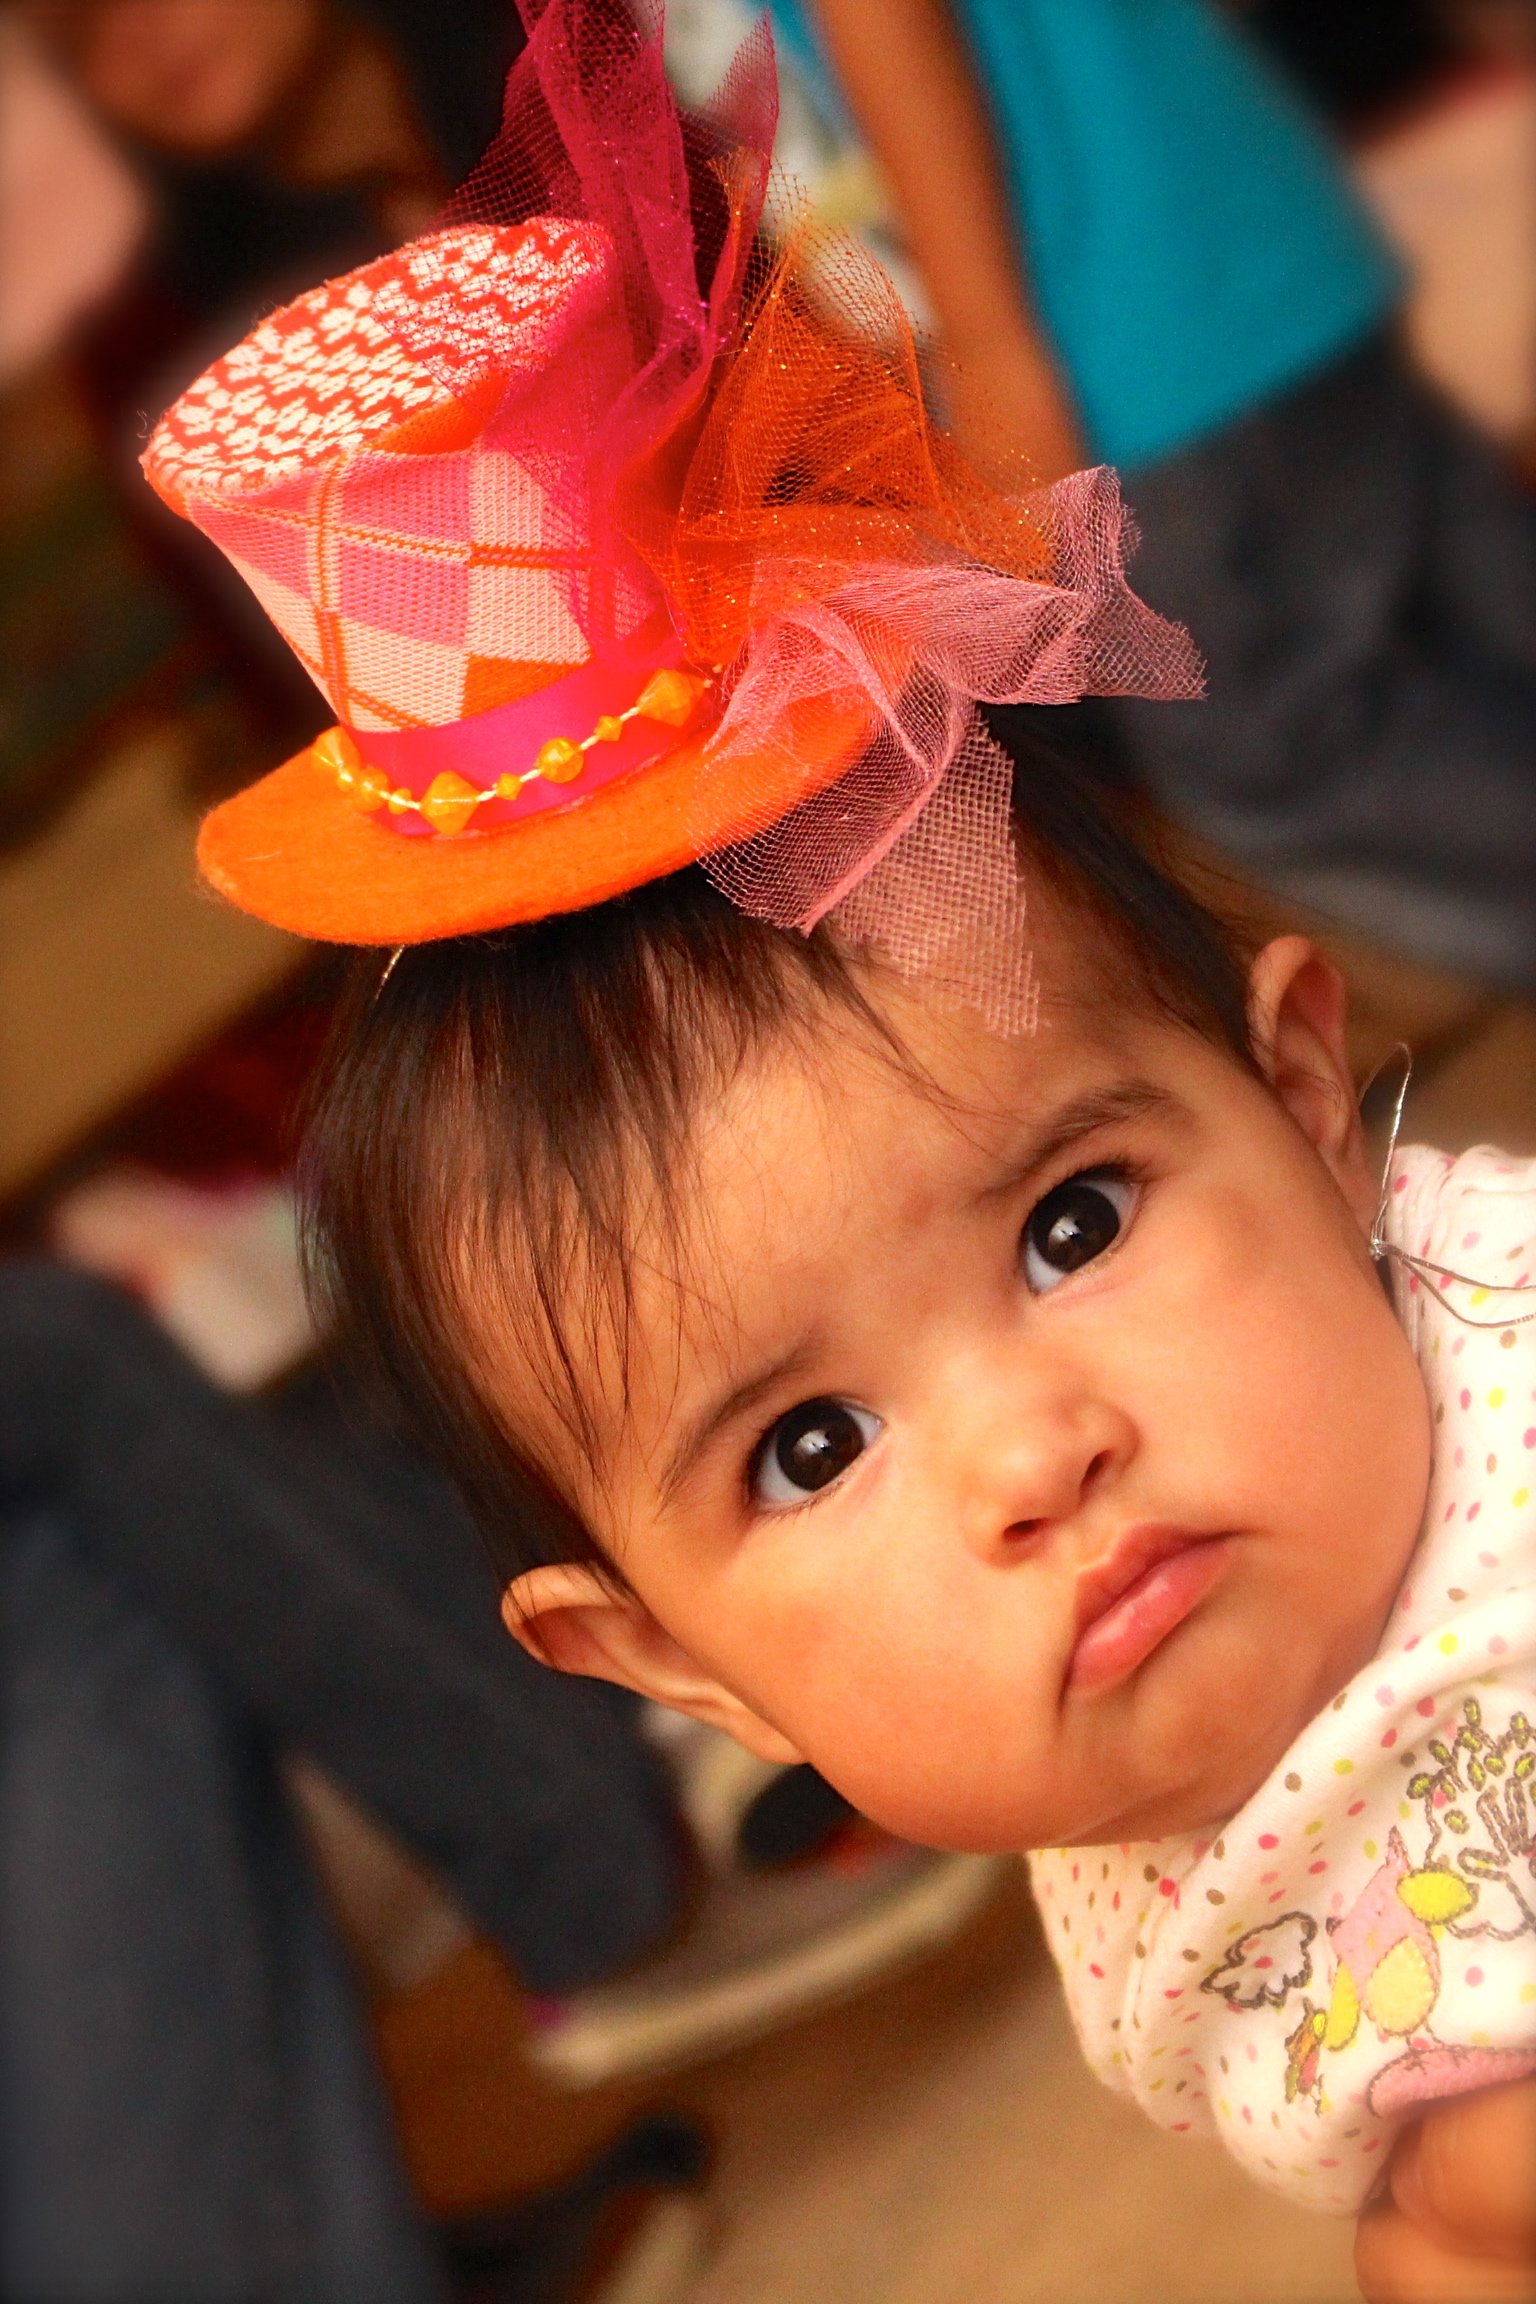 By the way, these are also perfect for crazy hat days. ;) As always, I'd love to see how yours turned out!